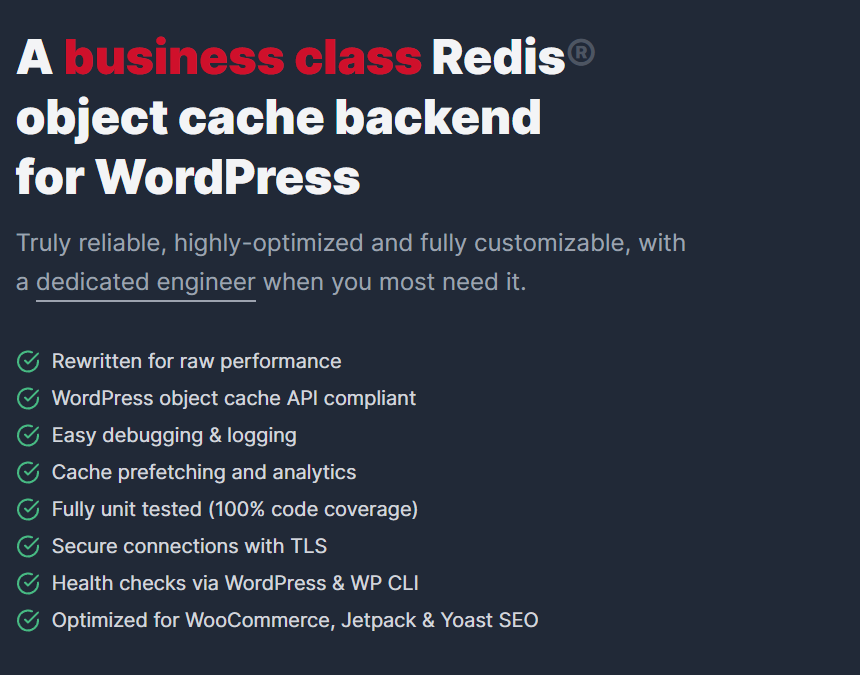
在處理大量數據和高流量的情況下,WordPress網站可能會面臨效能問題。這時,使用高效的緩存解決方案變得尤為重要。Object Cache Pro是一款專業級的物件緩存插件,它能夠顯著提升WordPress網站的性能和響應速度。本文將介紹如何在WordPress中安裝和配置Object Cache Pro。

內容目錄
安裝Object Cache Pro
步驟1:獲取插件
先從Object Cache Pro官方網站購買插件。完成後會取得授權金鑰。
步驟2:上傳並安裝插件
- 登入您的WordPress後台。
- 點擊「插件」>「新增」。
- 選擇「上傳插件」,然後選擇您下載的Object Cache Pro插件文件。
- 上傳並安裝插件。
步驟3:配置環境***
跟一般外掛不一樣的地方,這邊要自己手動在 /wp-content/wp-config.php 中,去配置參數,配置方法如下
define('WP_REDIS_CONFIG', [
    'token' => '<your-license-token>',
    'host' => '127.0.0.1',
    'port' => 6379,
    'database' => 0, // change for each site
    'maxttl' => 86400 * 7,
    'timeout' => 1.0,
    'read_timeout' => 1.0,
    'split_alloptions' => true,
    'debug' => false,
]);

define('WP_REDIS_DISABLED', false);
步驟4:清除舊資料
redis-cli flushall
步驟4:啟用插件
安裝完成後,點擊「啟用插件」。
進階配置Object Cache Pro
超快速度的配置
Object Cache Pro 進階配置,將序列話變成二進制,並且啟用快速壓縮等功能,再加入多主機支援
define('WP_REDIS_CONFIG', [
    'token' => '...',
    'host' => '127.0.0.1',
    'port' => 6379,
    'database' => 0, // change for each site
    'timeout' => 0.5,
    'read_timeout' => 0.5,
    'retry_interval' => 10,
    'retries' => 3,
    'backoff' => 'smart',
    'compression' => 'zstd', // `zstd` compresses smaller, `lz4` compresses faster
    'serializer' => 'igbinary',
    'async_flush' => true,
    'split_alloptions' => true,
    'prefetch' => true,
    'strict' => true,
    'debug' => false,
    'save_commands' => false,
    'prefix' => 'mysitename',
]);

define('WP_REDIS_DISABLED', getenv('WP_REDIS_DISABLED') ?: false);
安裝 PHP 外掛支援超快速配置
想要享用超快速的 object cache pro 配置的話,有兩個前提要先做好
1.安裝igbinary serializer
簡易安裝
pecl install igbinary
pecl install --configureoptions='enable-redis-igbinary="yes"' redis
原始檔安裝
https://github.com/igbinary/igbinary#installing
2.安裝 lzf/lz4/zstd compression
簡易安裝
# Use prompts
pecl install redis

# Skip prompts
pecl install --configureoptions='enable-redis-lzf="yes" enable-redis-zstd="yes" enable-redis-lz4="yes"' redis
原始檔安裝
https://github.com/phpredis/phpredis/blob/develop/INSTALL.md
測試和優化
安裝並配置好Object Cache Pro後,您應該進行測試,以確保一切運作正常。您可以使用速度測試工具如GTmetrix來檢查網站效能的提升。
結論
使用Object Cache Pro可以顯著提升WordPress網站的效能。通過合理配置和優化,您可以為您的用戶提供更快、更流暢的瀏覽體驗。


近期留言