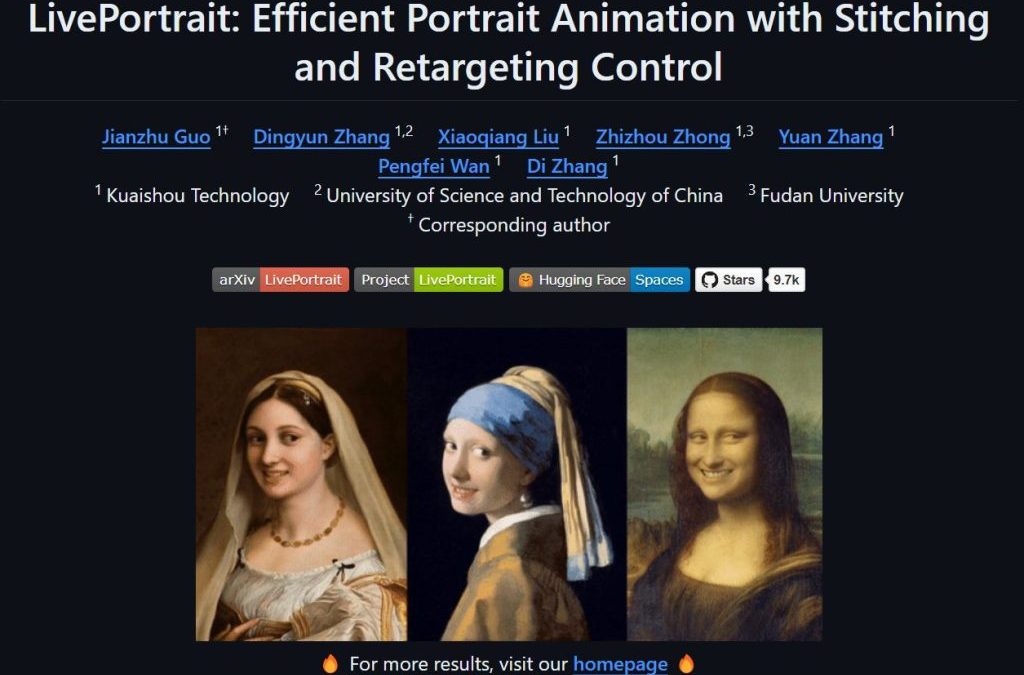
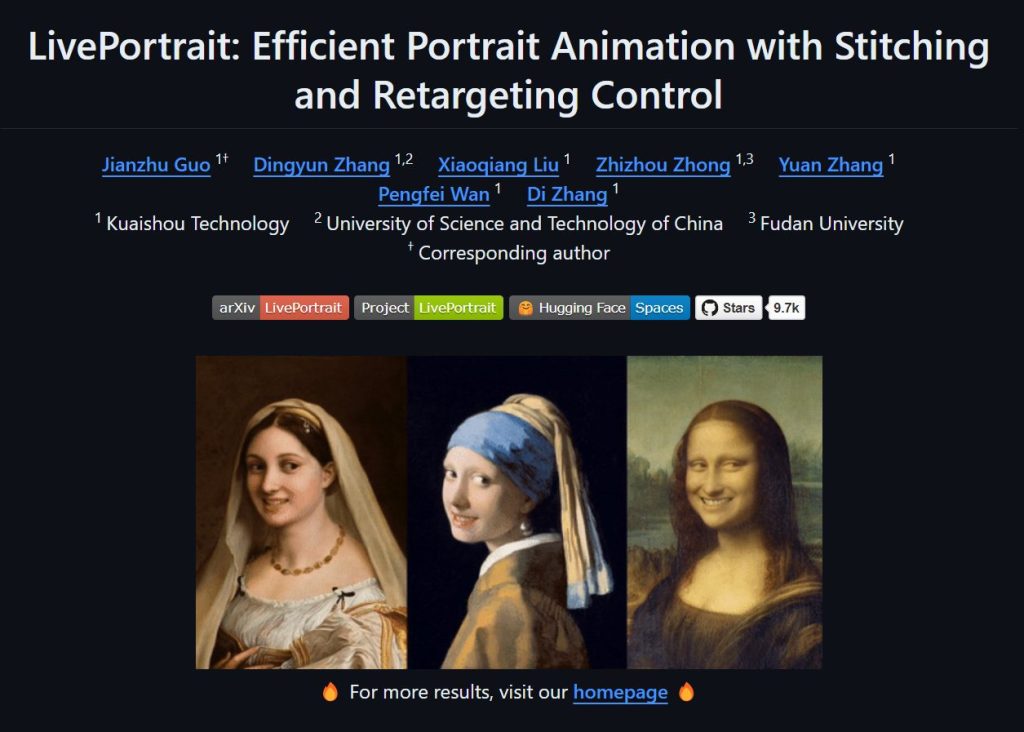
LivePortrait:蒙娜麗莎笑起來
LivePortrait 是一個先進且有趣的影像生成技術,它不僅讓靜態肖像圖片動起來,變得栩栩如生,還能讓用戶在不同的角色之間進行變換,甚至能做到將一位大叔轉變成美女,美女變會跳舞的效果。這項技術目前在GitHub上獲得了10K顆星的高度關注,顯示了它在開源社群中的受歡迎程度。
什麼是 LivePortrait?
LivePortrait 是一個能夠讓靜態人像圖片進行動畫化的技術。該技術的核心是將人臉動作從一個人像轉移到另一個人像上,從而實現讓靜態圖片「動起來」的效果。與傳統的動畫技術相比,LivePortrait 的計算效率更高,並且生成的影像更加自然、流暢。
主要特點
- 縫合與重定位控制:LivePortrait 的關鍵特點之一是它的縫合與重定位控制技術。這讓用戶可以將不同的面部特徵縫合到一個目標人像上,並進行動畫化。例如,將一位大叔的臉與美女的臉部特徵進行結合,然後動畫化,達到讓大叔秒變美女的有趣效果。
- 高效的處理能力:這個技術使用了一種高效的算法,能夠在較短的時間內生成高質量的動畫效果,適合用於即時應用或者在線處理需求。
- 開源社群的熱烈反響:LivePortrait 的 GitHub 項目自發布以來,已經累積了7.9K顆星,成為了開源社群中的一個熱門項目。這顯示了技術人員與開發者對這項技術的認可與支持。
應用場景
LivePortrait 的應用場景非常廣泛,從娛樂到專業用途都有所涉及。舉例來說,它可以用於製作逼真的動畫表情,為虛擬角色賦予生命,或者在影像特效中實現面部交換等功能。其高度的可定製性也讓它成為許多創意工作者的工具首選。
安裝方法
原始項目網址 https://github.com/KwaiVGI/LivePortrait
安裝程式
git clone https://github.com/KwaiVGI/LivePortrait
cd LivePortrait

# create env using conda
conda create -n LivePortrait python=3.9
conda activate LivePortrait

# 安裝相關依賴
pip install -r requirements.txt
下載預訓練資料
# !pip install -U "huggingface_hub[cli]"
huggingface-cli download KwaiVGI/LivePortrait --local-dir pretrained_weights --exclude "*.git*" "README.md" "docs"
如果不能存取 Huggingface
# !pip install -U "huggingface_hub[cli]"
export HF_ENDPOINT=https://hf-mirror.com
huggingface-cli download KwaiVGI/LivePortrait --local-dir pretrained_weights --exclude "*.git*" "README.md" "docs"
執行視窗
# For Linux and Windows users
python inference.py

# For macOS users with Apple Silicon (Intel is not tested). NOTE: this maybe 20x slower than RTX 4090
PYTORCH_ENABLE_MPS_FALLBACK=1 python inference.py
指令碼
# source input is an image
python inference.py -s assets/examples/source/s9.jpg -d assets/examples/driving/d0.mp4

# source input is a video ✨
python inference.py -s assets/examples/source/s13.mp4 -d assets/examples/driving/d0.mp4

# more options to see
python inference.py -h
超酷的寵物模式

先安裝寵物模式
cd src/utils/dependencies/XPose/models/UniPose/ops
python setup.py build install
cd - # equal to cd ../../../../../../../
要使用的時候只需要下
python inference_animals.py -s assets/examples/source/s39.jpg -d assets/examples/driving/wink.pkl --driving_multiplier 1.75 --no_flag_stitching
Huggingface 上使用
https://huggingface.co/spaces/KwaiVGI/LivePortrait
近期留言