by Rain Chu 3 月 21, 2023 | PHP , wordpress , 程式
想要客製化會員登入 WordPress 後的行為,例如說要跳到某一個指定的網頁,其實有很多個外掛可以使用,例如:https://www.paidmembershipspro.com/ ,但麻煩的就是常常會跟其他的會員外掛衝突,而且為了一個小功能,要一個龐大的會員系統來支撐,不太划算,建議可以自行寫寫看。
佈景主題 Functions.php
其實只要找到佈景主題下的 functions.php 然後加入以下程式碼即可
function my_login_redirect( $redirect_to, $request, $user ) {
    //檢查是否有建置會員制度
    if (isset($user->roles) && is_array($user->roles)) {
        // 檢查是否為管理者
        if(in_array('administrator', $user->roles)){
            // 每次當入都到 woocommerce 的管理頁面中
            $redirect_to =  home_url('wp-admin/edit.php?post_type=shop_order');
        }
        //確認是不是訂閱會員
        else if (in_array('subscriber', $user->roles)) {
            // 導向指定頁面,程式範例是導向會員專屬頁面。
            $redirect_to =  home_url();
        }
    }
    return $redirect_to;
}

add_filter( 'login_redirect', 'my_login_redirect', 10, 3 );
區分權限
管理員登入 WordPress 後,預設會到 /wp-admin 中,一般的使用者登入後通常是引導到首頁,或是他自己的介紹頁,要區分管理員或是一般使用者則可以使用 in_array(‘administrator’, $user->roles) 做判斷
// 判斷是否為管理員
in_array('administrator', $user->roles)
自己寫就是有一個好處,可以完全客制使用者行為,也比較輕量,真的有問題就問 ChatGPT 4 大神吧
參考資料
by Rain Chu 3 月 14, 2023 | PHP , wordpress , 程式
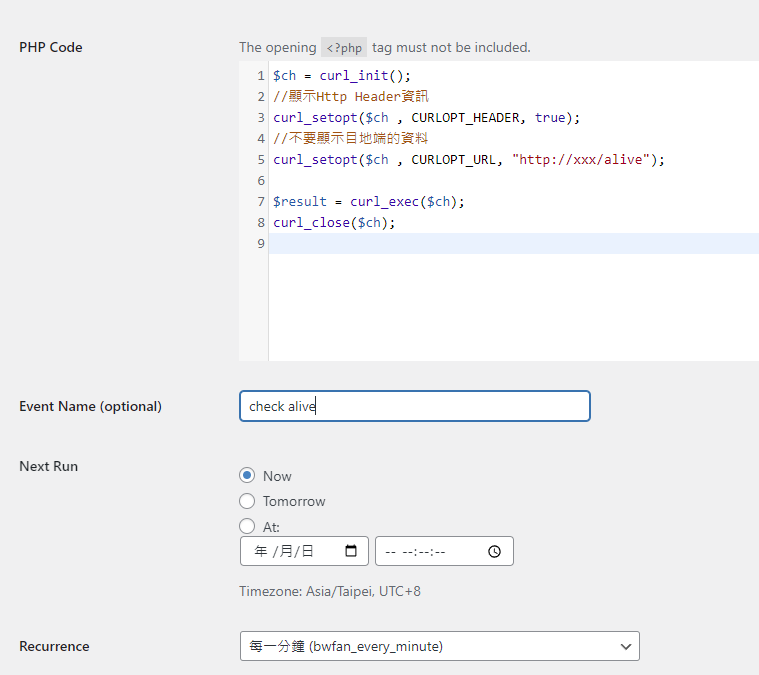
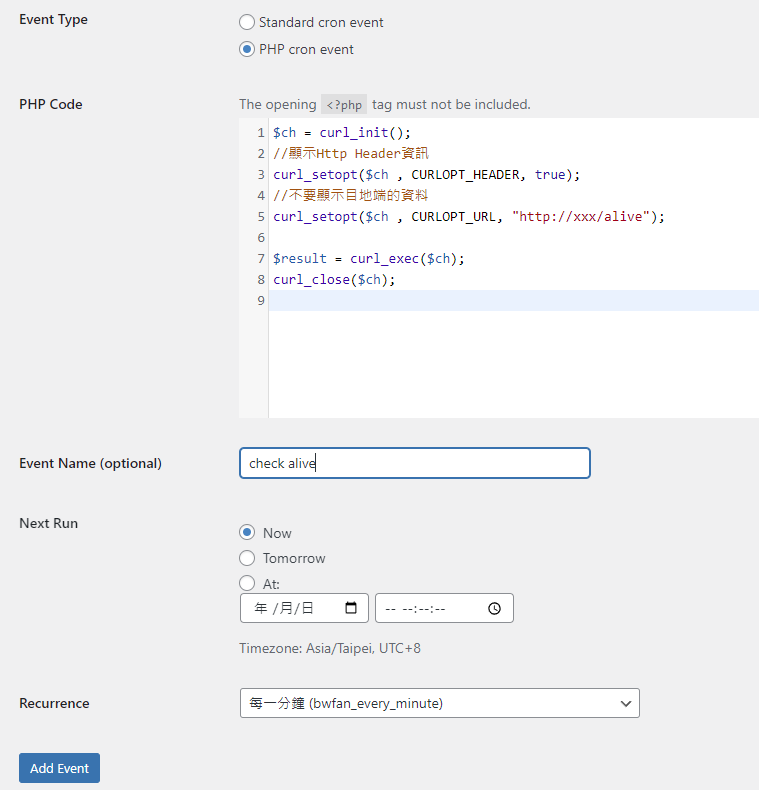
如果需要在網站上固定執行一個程式碼,有非常多種的執行方法,本篇已 WordPress 為例,分別在不同的層級上介紹幾個大家常用的方法來說明,可以先簡單分類,由 WordPress (應用層)去執行的,Web Server 等級去執行的,PHP 層級執行的,原生 Server 等級去執行,外部執行,自己寫一隻程式執行,各有各的美,以上排序由簡->難。
首先介紹最簡單的外掛處理法 WP Control ,可以節省很多事情,有優良的介面可以直接寫一般的 Cron 以及 PHP Cron
PHP CURL 寫法
by Rain Chu 3 月 10, 2023 | PHP , woocommerce , wordpress , 程式
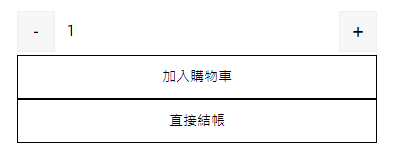
在台灣的消費習慣就是需要極致的快和簡單,所以我們就是要有能在 WordPress 的 WooCommerce 中一鍵結帳的功能,這功能其實有很多外掛可以達成,但為了一個按鈕加了一個外掛,總覺得用牛刀在殺雞,還是直接在 functions.php 中加入程式碼比較快,能改的東西也比較多。
woocommerce 商品 一鍵購物 修改 functions.php
找到佈景主題下的 functions.php 在後面加入以下的程式碼
add_action( 'wp_enqueue_scripts', 'child_enqueue_styles', 15 );
function addOneClickCheckoutBtn() {
    // 取得商品ID
    $current_product_id = get_the_ID();
    // 依據商品ID取得商品
    $product = wc_get_product( $current_product_id );
    // 取得結帳網址
    $checkout_url = WC()->cart->get_checkout_url();
    // 只在簡單商品中運行
    if( $product->is_type( 'simple' ) ){
        ?>
        <script>
            jQuery(function($) {
                   $(".custom-checkout-btn").on("click", function()
                    {
                       $(this).attr("href", function()
                        {
                            return this.href + '&quantity=' + $('input.qty').val();
                        });
                    });?>
            });
        </script>
        <style>
        .raiseup_one_click_checkout_btn {
            margin: 0px 1em !important;
        }
        </style>
        <?php
        echo '<a href="'.$checkout_url.'?add-to-cart='.$current_product_id.'" class="single_add_to_cart_button button raiseup_one_click_checkout_btn">直接結帳</a>';
    }
}
add_action( 'woocommerce_after_add_to_cart_button', 'addOneClickCheckoutBtn' );
修改位置、顏色 CSS 已符合你的商品頁面
程式碼中,有新增一個 CSS 的類別 raiseup_one_click_checkout_btn ,可以透過以下的程式碼去修正按鈕的顏色、字型大小
        <style>
        .raiseup_one_click_checkout_btn {
            margin: 0px 1em !important;
        }
        </style>
by Rain Chu 3 月 2, 2023 | PHP , wordpress , 程式
手機版本以及電腦版本的網頁共存的方法很多種,但總是要很多時候需要最佳化,當然現在流行的是採用AMP來處理手機頁面,每一種都有自己適用的場景,今天要介紹的是全手動自刻PHP程式碼處理的方法,透過 WP 內建的兩個函式來偵測使用者是否用手機看你的網頁,是的話就導引到手機專用的網頁上。
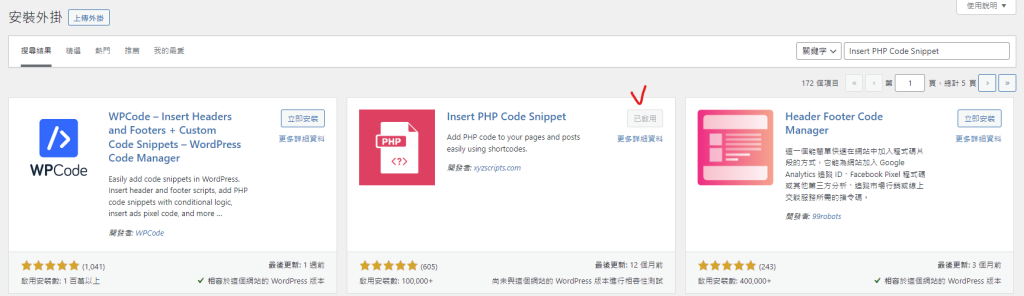
先準備好可以在你的頁面內直接寫PHP的外掛 Insert PHP Code Snippet
在外掛內搜尋 Insert PHP Code Snippet,如下圖打勾處
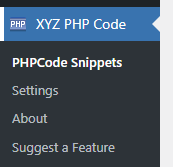
安裝完畢後,你可以在後台的主選單中找到 XYZ PHP Code,選擇 PHPCode Snippets,我們來寫一支很簡單的程式碼,當然你也可以用自己習慣的程式碼外掛處理
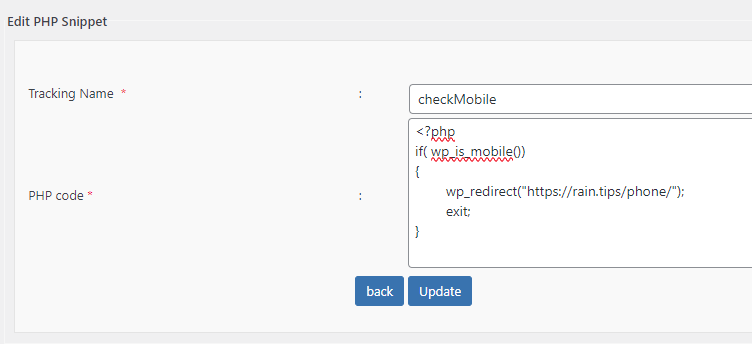
PHPCode Snippets 新增一筆程式碼,我把它命名為 checkMobile,裡面內容也很簡單,就是偵測到客戶用手機看,我們就導引到手機的頁面上
新增 PHP Code Snippet 利用 WP 內建的 wp_is_mobile() 和 wp_redirect() 就可以達到想要的效果
<?php
if( wp_is_mobile())
{
wp_redirect("https://rain.tips/phone/");
exit;
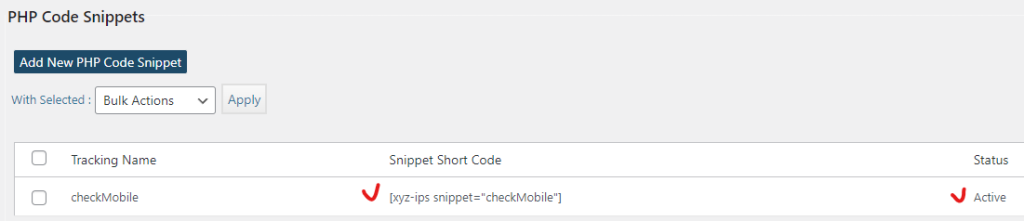
} wp checkmobile 寫完存檔後,就可以看到 Snippet Short Code 狀態是 Active ,把Short Code複製起來,並且貼到你的頁面或是文章中就可以用了
by Rain Chu 2 月 20, 2023 | woocommerce , wordpress
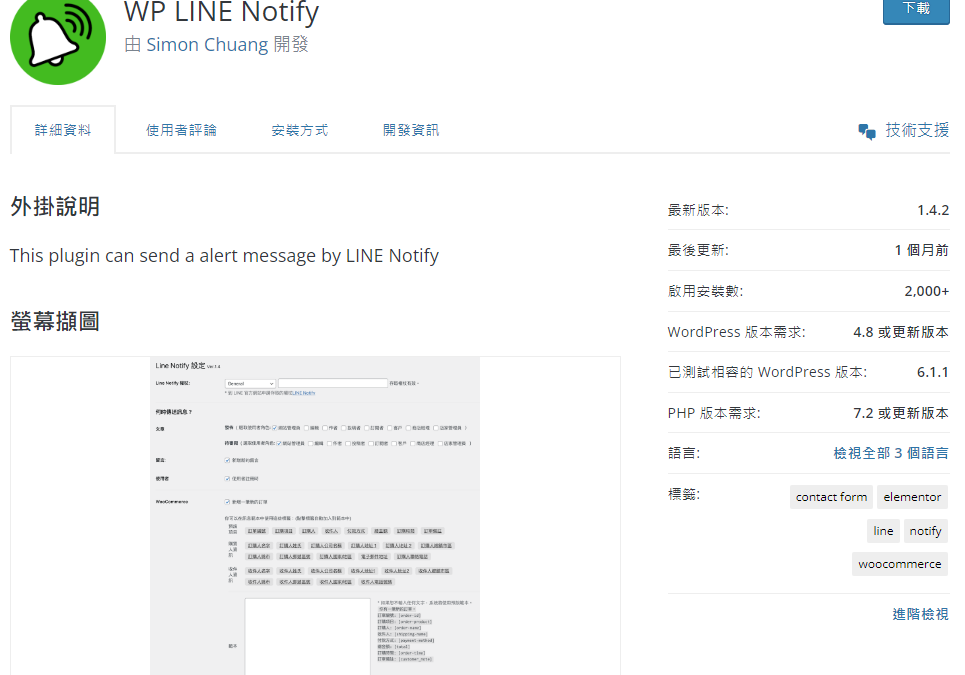
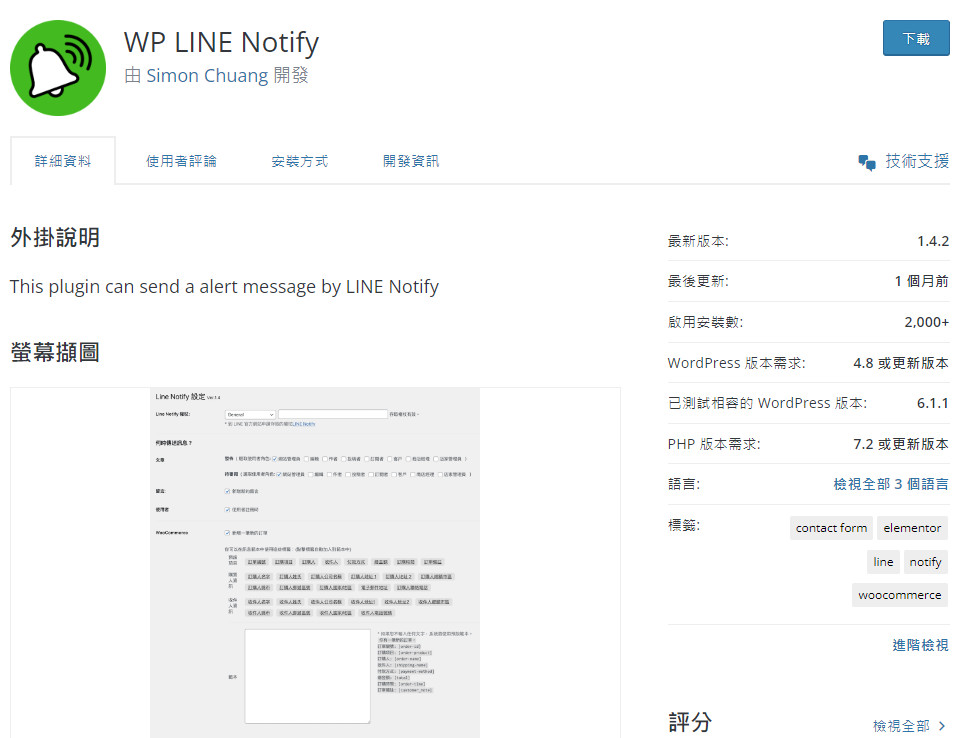
這次想要推薦大家用 WP LINE Notify ,在台灣、泰國、日本多數人都有LINE,並且在LINE上檢查訊息的時間遠遠大於檢查EMAIL,所以我們再用 WordPress 以及 WooCommerce 的時候,對於留言、評論、訂單通知,想要透過 LINE 來知道的話,可以使用 WP LINE Notify 外掛。
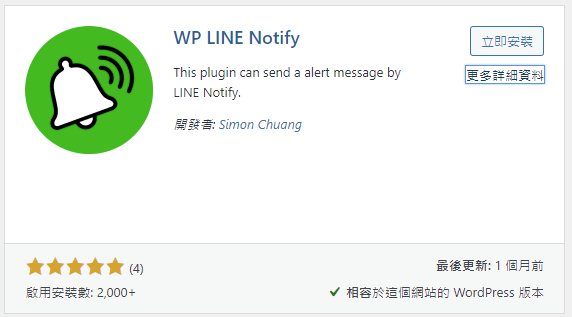
第一步,先安裝 WP LINE Notify
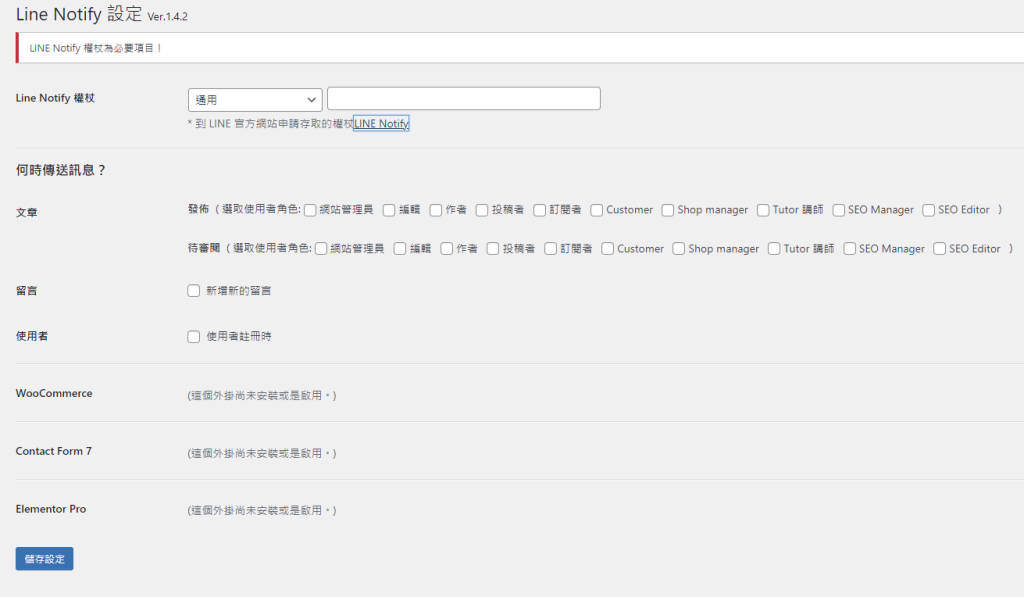
第二步,啟用 WP LINE Notify 並且設定
這一步驟需要先申請 LINE Notify ,https://notify-bot.line.me/my/ ,申請完畢後,把 token 抄起來,並且複製到 LINE Notify 權杖的欄位中,之後就可以使用了
參考資料
LINE Notify 官網
by Rain Chu 2 月 18, 2023 | woocommerce , wordpress
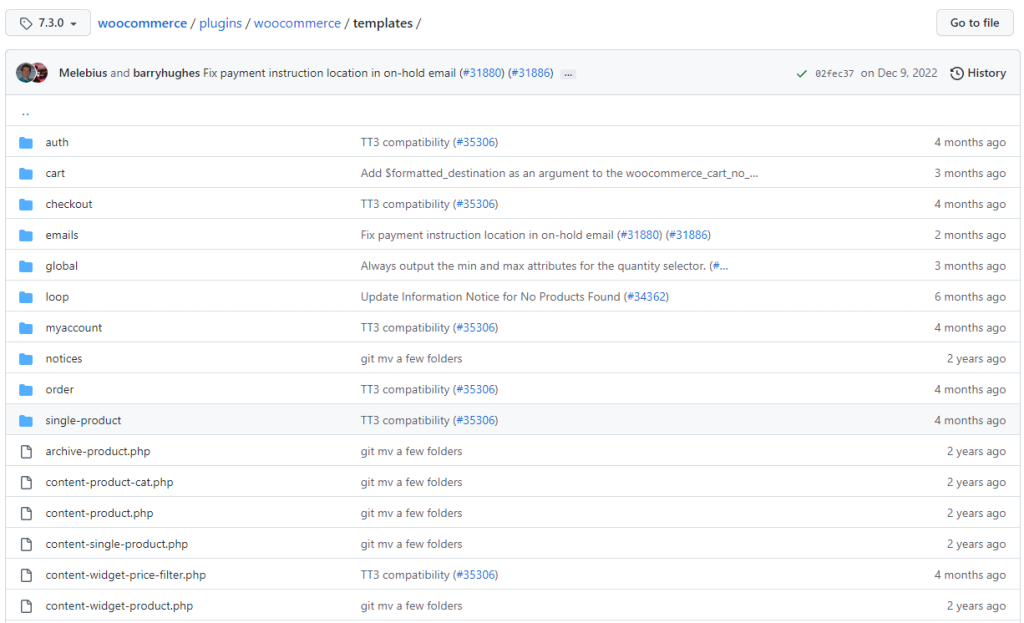
先來看一下 woocommerce 的樣板目錄結構(template structure)
位置在 /woocommerce/templates/ 我手上的是7.3版本,預設資料有
當你需要在自己的佈景主題 Theme 使用模板時候,只需要把它複製到你的佈景主題下,並且跟著下面的規範就可以了
將templates的字樣拿掉即可
例如:
content/plugins/woocommerce/templates/emails/admin-new-order.php
wp-content/themes/yourtheme/woocommerce/emails/admin-new-order.php
參考資料

近期留言