
by rainchu | 9 月 23, 2024 | AI, Chat
公開如何使用 OpenAI 配合 LiveKit 來實現會多國語言的小姐姐,可以即時回答您的問題,這個跟 Twilio 一樣的簡單和易用
取得 LiveKit key
利用 google 帳號登入 LiveKit Login 命名一個 project
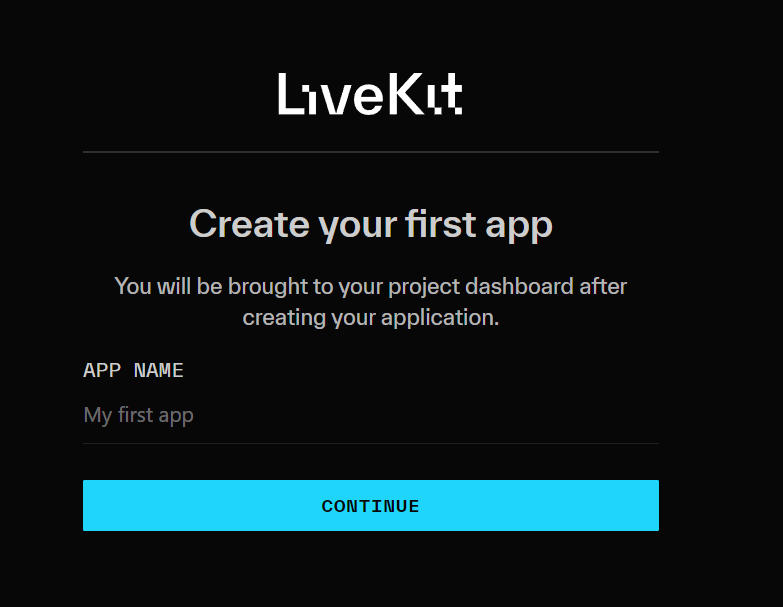
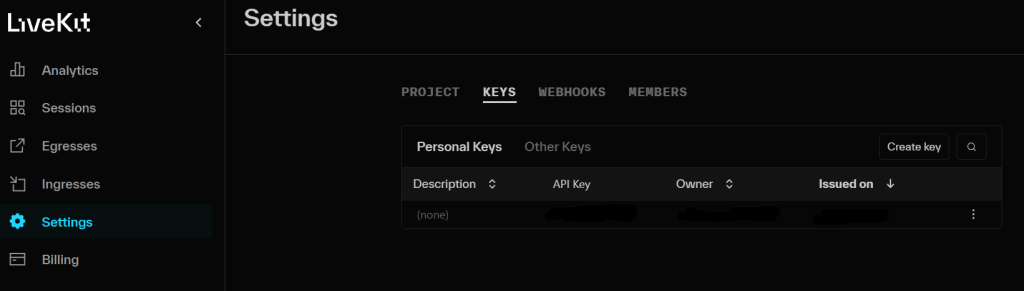
並且到專案中的 settings -> KEYS ,取得 API KEY
程式碼
首先安裝相關依賴
pip install livekit-agents livekit-plugins-openai livekit-plugins-silero python-dotenv
設定環境變數
LIVEKIT_URL=""
LIVEKIT_API_KEY=""
LIVEKIT_API_SECRET=""
OPENAI_API_KEY=""
主要程式碼
import asyncio
from dotenv import load_dotenv
from livekit.agents import AutoSubscribe, JobContext,WorkerOptions, cli, llm
from livekit.agents.voice_assistant import VoiceAssistant
from livekit.plugins import openai, silero


load_dotenv()

async def entry(ctx: JobContext):
    chat_ctx = llm.ChatContext().append(
        role="system",
        text=("你是專業的助理,回答時候用專業的語氣回應。")
    )

    await ctx.connect(auto_subscribe=AutoSubscribe.AUDIO_ONLY)

    asssitant = VoiceAssistant(
        vad=silero.VAD.load(),
        stt=openai.STT(),
        tts=openai.TTS(voice="nova"),
        llm=openai.LLM(model="gpt-4o-mini"),
        chat_ctx=chat_ctx
    )
    asssitant.start(ctx.room)

    await asyncio.sleep(1)
    await asssitant.say("你好,第一次見面,很高興認識你",allow_interruptions=True)


if __name__ == "__main__":
    cli.run_app(WorkerOptions(entrypoint_fnc=entry))
測試與驗證
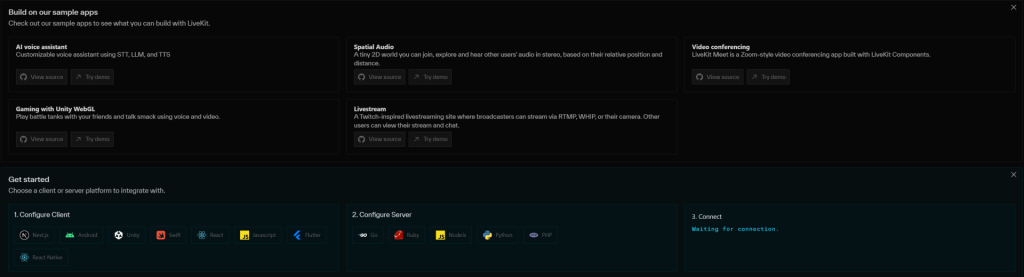
道專案中,可以看到 Get started 中有支援各種的平台的程式碼以及 server 可以使用
價格說明
https://livekit.io/pricing

參考資料
https://livekit.io
https://github.com/livekit/agents
demo code
by Rain Chu | 11 月 9, 2023 | Nginx, SERVER
Nginx 配置中的 client_max_body_size 參數會限制通過 HTTP 或 HTTPS 請求傳輸的最大消息體積。這個參數對所有客戶端請求體的大小都有影響,包括由 proxy_pass 轉發的文件上傳。
如果 client_max_body_size 沒有在 Nginx 配置中明確設定,則默認值通常是 1MB,這可能導致大於 1MB 的文件上傳失敗。若要允許更大的文件上傳,你需要在 Nginx 的 server 或 http 上下文中增加這個指令並設置一個足夠的值,
例如:
http {
    ...
    client_max_body_size 100M;
    ...
}
或者在特定的 server 或 location 區塊中設定:
server {
    ...
    client_max_body_size 100M;
    ...
}
修改後,記得重新載入或重啟 Nginx 使設定生效:
sudo nginx -t
sudo nginx -s reload
sudo systemctl restart nginx
這樣就可以讓使用者上傳超過1MB的檔案了
by Rain Chu | 10 月 31, 2023 | MariaDB, SQL, 資料庫
1. 瞭解 MariaDB Master to Master 備援的重要性
Master to Master (M2M) 備援在 MariaDB 中是非常重要的一種設定。它允許兩個 MariaDB 伺服器雙向地同步資料,確保其中一台伺服器發生問題時,另一台可以立即接手,確保資料的持續可用性。對於那些尋求高可用性和資料完整性的應用程式來說,這是一個非常有用的設定。
2. Windows 環境下的 MariaDB 安裝步驟
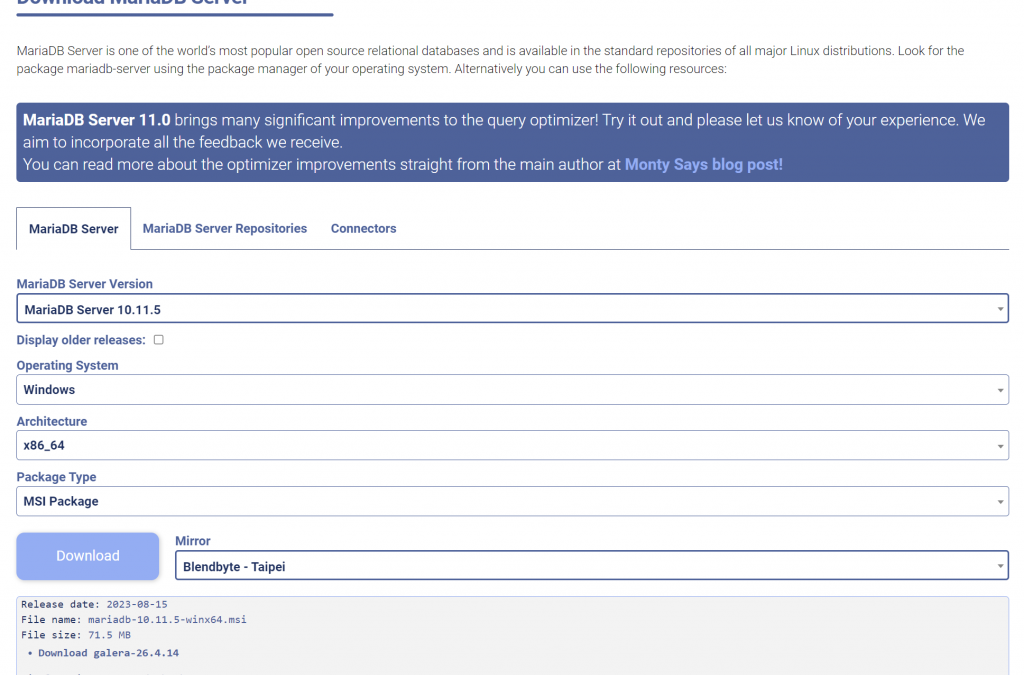
要在 Windows 上設定 M2M,首先需要正確地安裝 MariaDB。下載適用於 Windows 的 MariaDB 版本並執行安裝程式。選擇適當的安裝選項,例如伺服器位置、資料庫大小等。並且確保在安裝過程中設定一個強大的 root 密碼,以確保資料庫的安全。
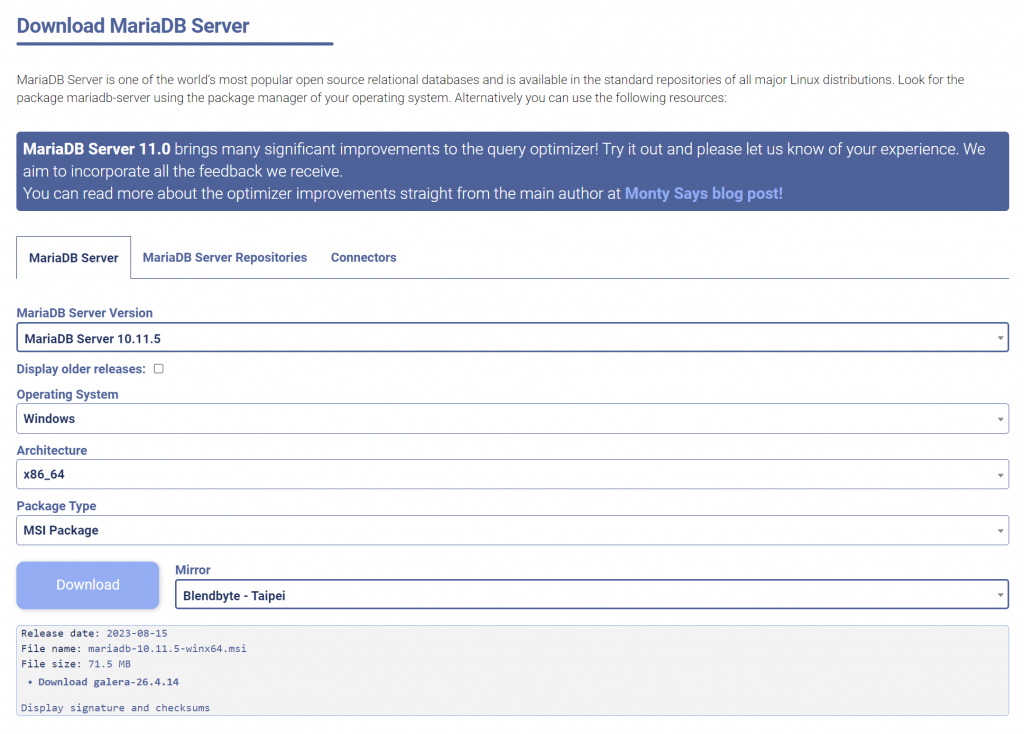
目前MariaDB長期支援版本為 MariaDB 10.11 版本,11版本則是有最佳化過的,兩者都可以用,可以依照自己的需求做選擇
假設兩台主機如下
- Hostname: Master01 ,IP:192.168.0.10
- Hostname: Master02 ,IP:192.168.0.11
3. 配置 Master to Master 備援
設定 M2M 備援涉及許多步驟:
修改 my.ini(Windows) 或 my.cnf(Linux) 設定檔,設定 server-id 和 log-bin 參數
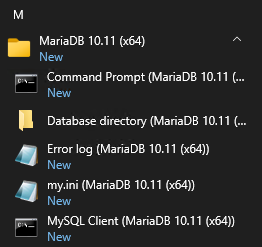
可以在開始功能表中找到my.ini,或是到你安裝時候填寫的資料庫路徑中可以看到my.ini檔案
每個 master 伺服器應該有一個唯一的 server-id,所以要在my.ini設定檔案中加入 server-id、log-bin、log-basename
第一台主機 id 設定為 1
[mysqld]
datadir=C:/Mariadb
port=3306
innodb_buffer_pool_size=2559M
character-set-server=utf8mb4

server-id = 1
log-bin
log-basename = master01
第二台主機 id 設定為 2
[mysqld]
datadir=C:/Mariadb
port=3306
innodb_buffer_pool_size=2559M
character-set-server=utf8mb4

server-id = 2
log-bin
log-basename = master02
在每台伺服器上建立用於備援的使用者帳號,並授予該使用者適當的權限。
在第一台主機 master01 上,新增一個使用者,讓 slave 主機可以透過192.168.0.X的網段連進來
grant replication slave on *.* to 'replica_user'@192.168.0.% identified by '123456';
flush privileges;
在第二台主機 master02 上,新增一個使用者,並且要讓 master01 主機的 IP 可以連進來
grant replication slave on *.* to 'replica_user'@192.168.0.% identified by '123456';
flush privileges;
設定 replication filters,確保只有需要的資料被同步。
啟動二進制日誌(binary logging)並確認每台伺服器都可以互相連接。
4. 測試 Master to Master 備援
在完成設定後,你應該測試 M2M 備援以確保它正常工作。首先,在一台伺服器上添加或修改一些資料,然後檢查另一台伺服器是否已同步這些變更。同樣地,從另一台伺服器修改資料並檢查第一台伺服器。此過程應確保資料在兩個伺服器之間正確同步。
在 Master01 中,查詢 File 和 Position,並且把值記錄下來,等等要填到 master02
在 master02 中,把 master01 的數值填入,並且建立連結
change master to master_host='192.168.0.10',
    -> master_user='replica_user',
    -> master_password='123456',
    -> master_log_file='master01-bin.000001',
    -> master_log_pos=5099;

start slave;
接下來檢查是否有設定成功
接下來回到 master01 去設定跟 master02 的連接
change master to master_host='192.168.0.11',
    -> master_user='replica_user',
    -> master_password='123456',
    -> master_log_file='master02-bin.000002',
    -> master_log_pos=5079;

start slave;
5. 維護和監控 Master to Master 備援
一旦 M2M 備援設定完畢並經過測試,你需要持續監控以確保它正常運作。使用如 MariaDB 的 SHOW SLAVE STATUS 命令來檢查備援的狀態。此外,考慮使用監控工具,如 Nagios 或 Zabbix,來自動檢查伺服器的健康狀態。
相關文章
近期留言