by Rain Chu 2 月 14, 2023 | CSS , Divi , woocommerce , wordpress , 設計
如果你有需要想要讓 WordPress 的 Woocommerce 在手機版本的商店頁面中顯示兩欄的商品,那最好的方法要自訂 CSS ,我在這邊展示的是用 DIVI 佈景主題來做自訂CSS,如果你是別家的也是都一樣的方法。
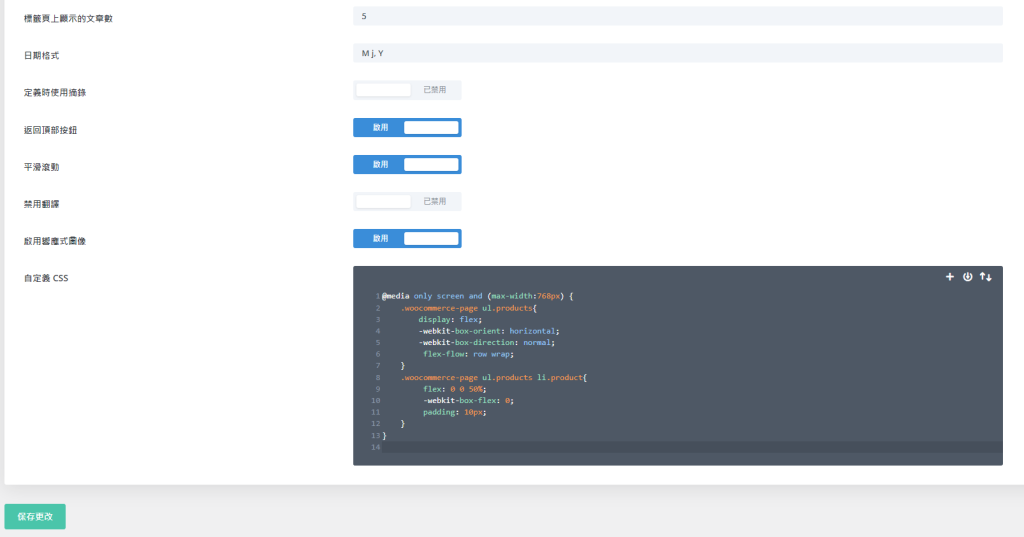
只要把下面的CSS複製起來
@media only screen and (max-width:768px) {
    .woocommerce-page ul.products{
        display: flex;
        -webkit-box-orient: horizontal;
        -webkit-box-direction: normal;
         flex-flow: row wrap;
    }
    .woocommerce-page ul.products li.product{
         flex: 0 0 50%;
         -webkit-box-flex: 0;
         padding: 10px;
    }
}
貼到你的佈景主題中的自訂CSS的位置上就可以了
by Rain Chu 2 月 8, 2023 | PHP , wordpress
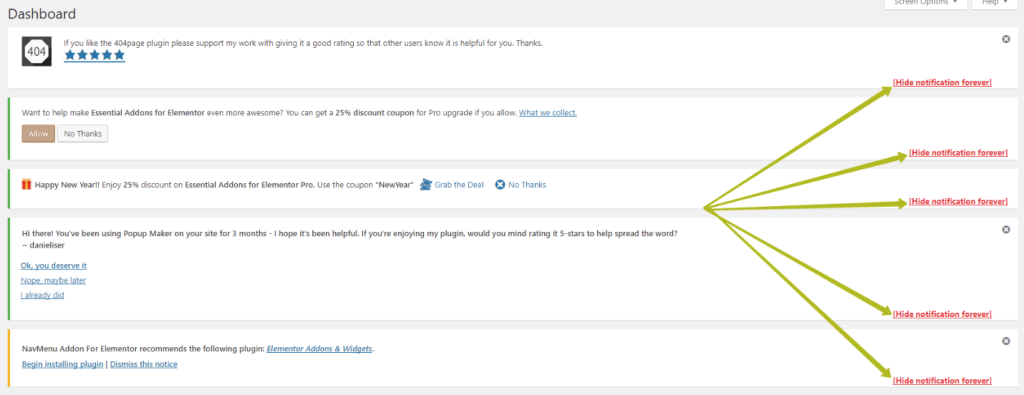
自動更新是個好功能,但因為 WordPress 本身的特性,外掛幾乎都是第三方寫的,總是難免會有很多的衝突,要求一個穩定的系統,只能把自動更新關閉,之後手動更新,確認沒有衝突後再讓他全站更新出去,才能確保穩定性,以下介紹幾種關閉自動更新的方法。
1.使用佈景主題內的 functions.php 寫入關閉自動更新的程式碼
將以下的程式碼放到佈景主題下的functions.php中即可
// 關閉自動更新以及通知
function remove_core_updates(){
global $wp_version;return(object) array('last_checked'=> time(),'version_checked'=> $wp_version,);
}
add_filter('pre_site_transient_update_core','remove_core_updates'); //hide updates for WordPress itself
add_filter('pre_site_transient_update_plugins','remove_core_updates'); //hide updates for all plugins000
add_filter('pre_site_transient_update_themes','remove_core_updates'); //hide updates for all themes
2.設定 wp-config.php 檔案
在 WP 的根目錄中,修改 wp-config.php ,將下面這一行加入即可
define( 'WP_AUTO_UPDATE_CORE', false ); 3.利用外掛來關閉自動更新
3.1 disable-admin-notices
https://clearfy.pro/disable-admin-notices/
by Rain Chu 1 月 19, 2023 | IIS , PHP , web , Windows , wordpress
在 windows server 的 iis 下,預設情況下安裝 php 架構的 wordpress 總是會遇到很多的困難,像是如果遭遇到想要訪問 wordpress 目錄下的目錄資料,例如:https://rain.tips/uploads/,會跟你說找不到資料,原因是wordpress所有的入口要先透由 index.php 去做路由,解決方案則是用 web.config 去指定路由要透過 index.php 即可
請在web.config檔案中添加 rewrite rules
    <rewrite>
      <rules>
			<rule name="WordPress: https://yoururl.com" patternSyntax="Wildcard">
				<match url="*"/>
					<conditions>
						<add input="{REQUEST_FILENAME}" matchType="IsFile" negate="true"/>
						<add input="{REQUEST_FILENAME}" matchType="IsDirectory" negate="true"/>
					</conditions>
				<action type="Rewrite" url="index.php"/>
			</rule></rules>
    </rewrite>
最後會長成這樣子
<?xml version="1.0" encoding="UTF-8"?>
<configuration>
  <system.webServer>
    <rewrite>
      <rules>
			<rule name="WordPress: https://yoururl.com" patternSyntax="Wildcard">
				<match url="*"/>
					<conditions>
						<add input="{REQUEST_FILENAME}" matchType="IsFile" negate="true"/>
						<add input="{REQUEST_FILENAME}" matchType="IsDirectory" negate="true"/>
					</conditions>
				<action type="Rewrite" url="index.php"/>
			</rule></rules>
    </rewrite>
  </system.webServer>
</configuration>
同場加映
by Rain Chu 10 月 8, 2022 | PHP , wordpress
WordPress 想要自訂登出後導引到某一個頁面,可以採用下面的程式碼,並且放於 functions.php 中即可
// 登出轉址
add_action('wp_logout','auto_redirect_after_logout');
function auto_redirect_after_logout(){
  wp_safe_redirect( home_url() );
  exit;
}
其中 home_url() 是首頁,這段程式碼的意思是,當登出使用者後,導引到首頁
by Rain Chu 9 月 3, 2022 | wordpress
全世界隨時隨地都在發生攻擊事件,我這種小站每天也都有上千次的登入嘗試,實在是防不勝防,只能盡量減少被攻擊的機會,在wordpress中,可以先關閉 XML-RPC 就可以少掉9成的攻擊,值得看一下這篇
檢測自己的網站是否有 XML-RPC 服務
首先先測試自己的網站是否有開啟 XML-RPC 服務,可以透過以下 https://你的網址/xmlpc.php ,來檢測是否可以用,例如
https://rain.tips/xmlrpc.php
會看到下面的訊息,代表這個網址是可以工作的
XML-RPC server accepts POST requests only.
關閉 XMLRPC 的方法如下
1.RD,修改佈景主題的 function.php ,加入xmlrpc_enabled
// option :禁用 XML-RPC 認證
add_filter('xmlrpc_enabled', '__return_false');

// 移除 XML-RPC 相關的訊息
remove_action('wp_head', 'wlwmanifest_link');
2.MIS,IIS和Apache
IIS 修改 web.config
<location path="xmlrpc.php">
<system.webServer>
  <security>
	<ipSecurity allowUnlisted="false">
	  <add ipAddress="127.0.0.1" subnetMask="255.255.255.255" allowed="true" />
	</ipSecurity>
  </security>
</system.webServer>
</location>
Apache 修改 .htaccess
<Files xmlrpc.php>
order deny,allow
deny from all
allow from 127.0.0.1
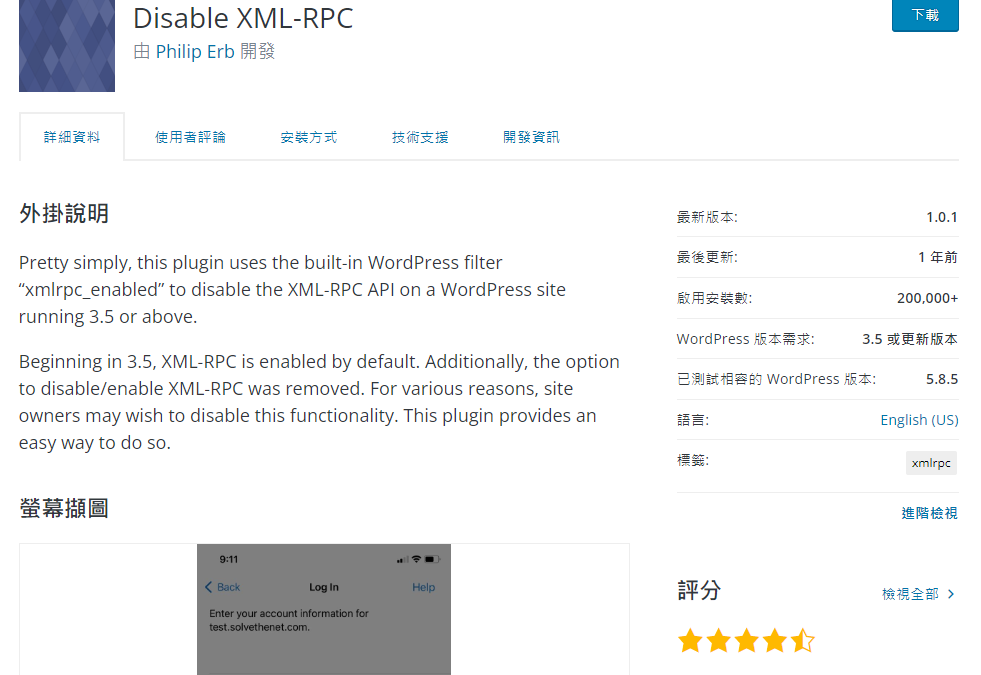
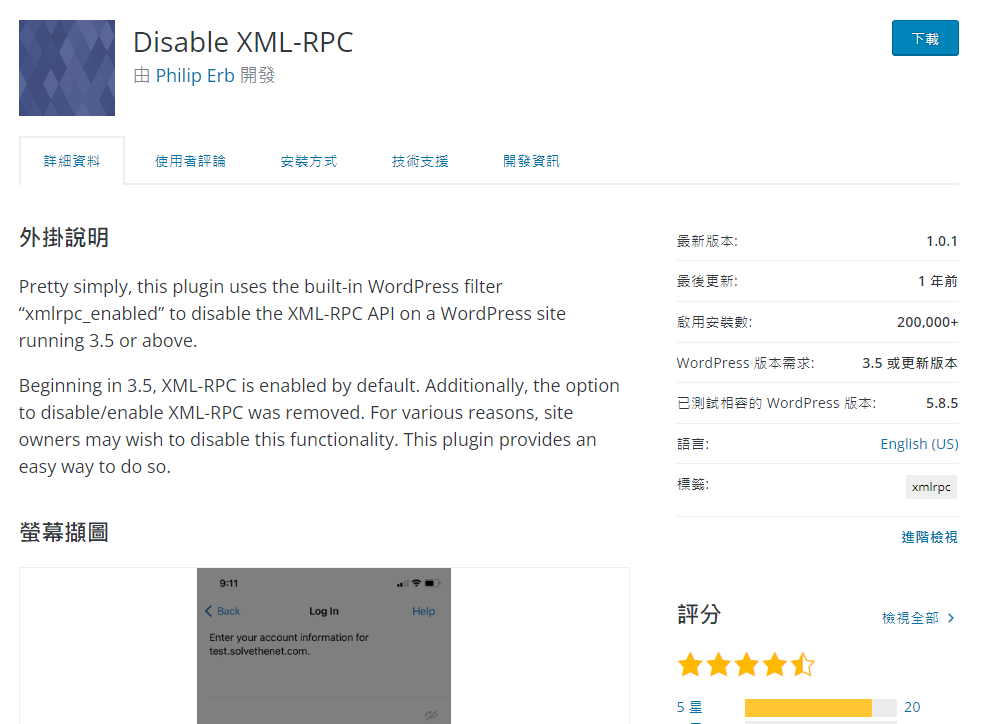
</Files> 3.Wordpress管理者
安裝外掛 Disable XML-RPC
參考資料
https://ithelp.ithome.com.tw/articles/10272566
by Rain Chu 8 月 18, 2022 | woocommerce , wordpress
電子商務、課程、遊戲型的網站,都有其特別要記錄的事件以及標籤,這時候一個一個自己慢慢的建立或是編寫的話,會需要耗費不少心力,還好用 WordPress 在處理我的部落格和商城,可以直接使用外掛 GTM4WP ,並且採用她預先已經定義好的 json 來快速建立電子商務流程或是表單的追蹤程式碼。
設定 WordPress 的 GTM4WP
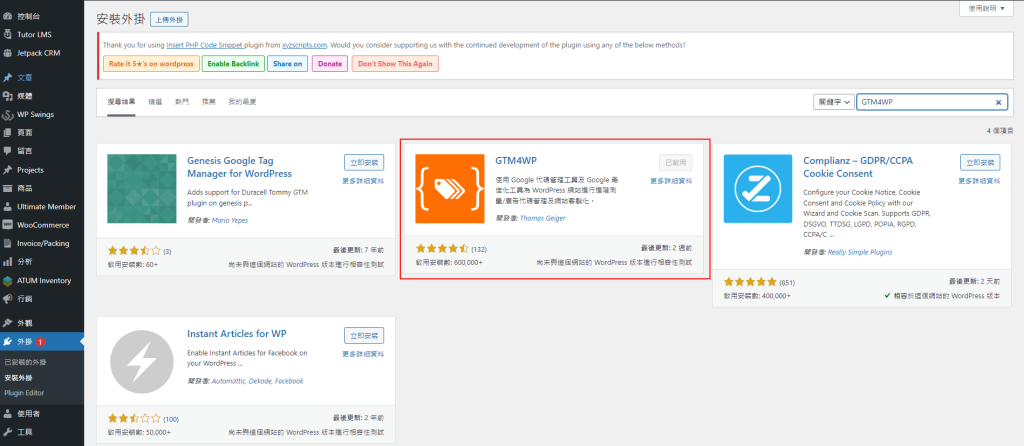
首先安裝外掛 – GTM4WP
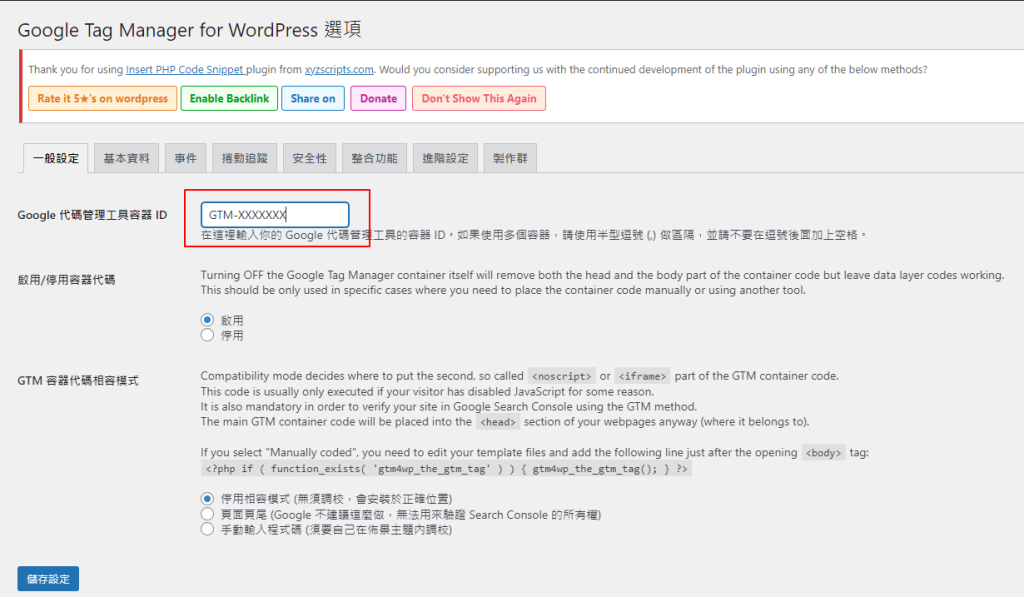
GTM4WP 設定 GTM 代碼 ID
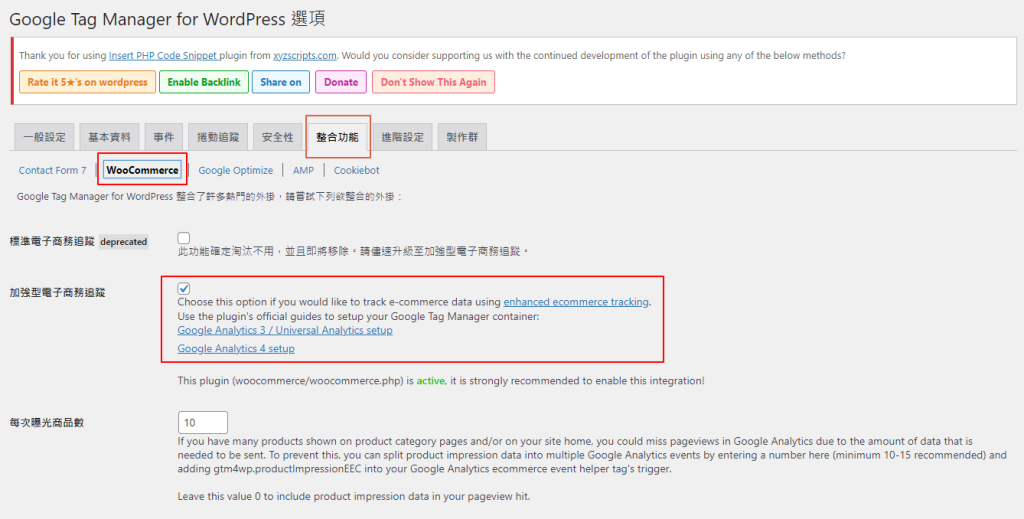
將 woocommerce 追蹤功能啟用
啟用 woocommerce 加強型電子商務追蹤功能 設置 Google GTM
去到 https://tagmanager.google.com/ 設定一個新的 GA4 的代碼
GTM GA4 代碼設定說明 導入GTM4WP Google Analytics 4容器範本
下載範本 https://gtm4wp.com/gtm-containers/gtm4wp-ga4-container-elements-20200419.json
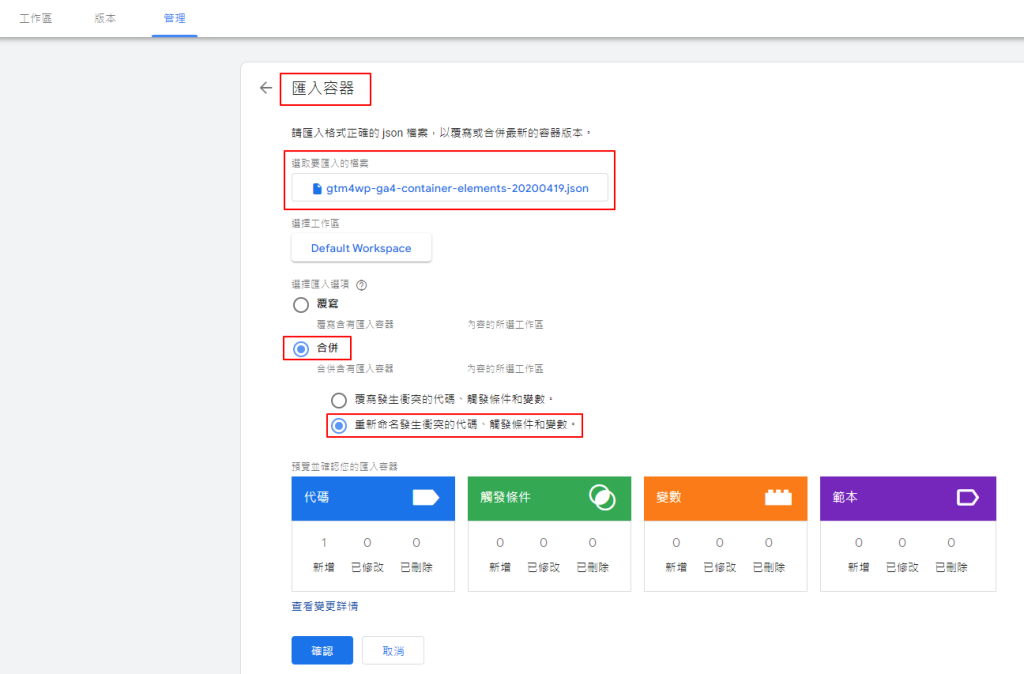
並且去到 「管理」 中的 「匯入容器」上傳範本
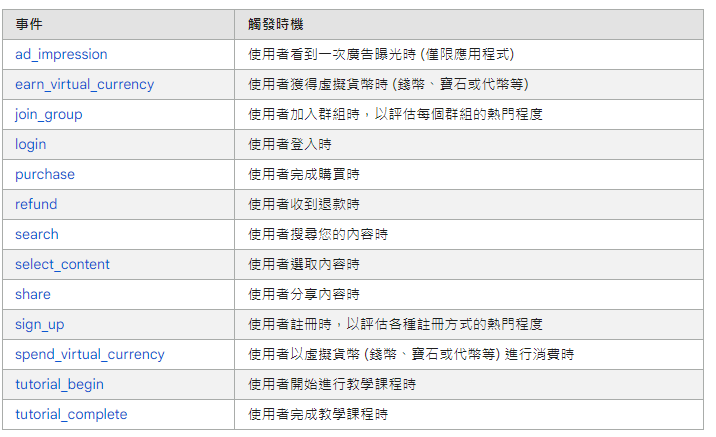
gtm4wp ga4 container 範本 過程中會創建預設好的事件以及代碼
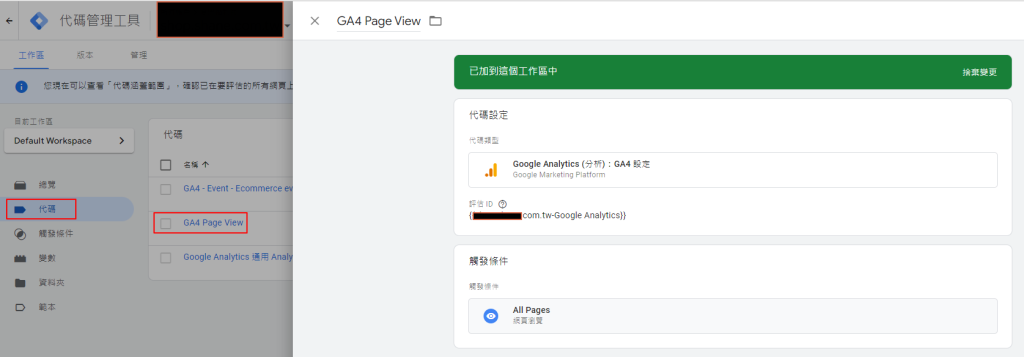
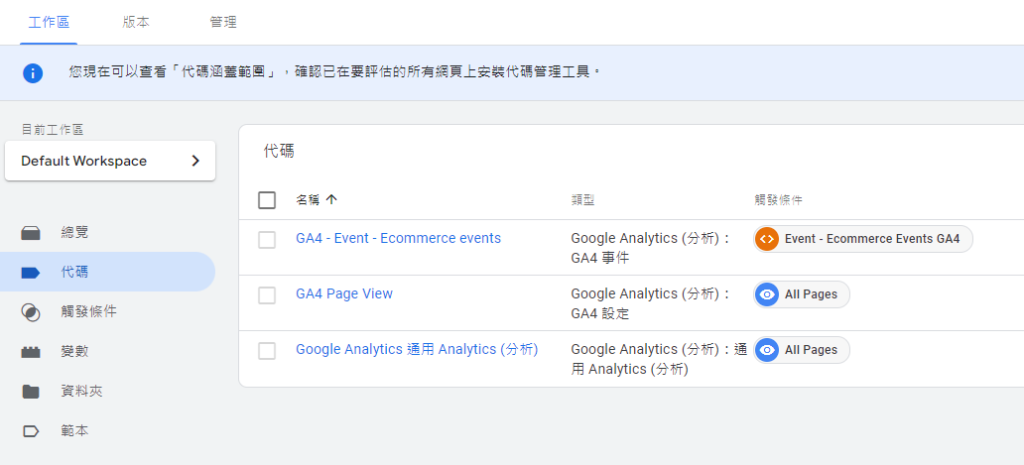
預設事件以及代碼 完成新創建的電子商務事件代碼
在前面你應該已經有了 “Google Analyitcs 4: GA4 configuration tag” 打開 “GA4 – Event – Ecommerce events” 打開 Configuration Tag drop down 選擇 GA4 configuration tag 存檔即可 別忘了要驗證是否成功
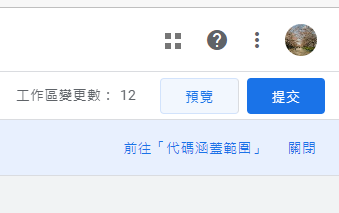
按下預覽按鈕
看到連線成功就可以了
參考資料
啟用 GA 加強型電子商務報表,追蹤 Woocommerce 銷售數據 | WebLai
為 WooCommerce 啟用 GA 加強型電子商務功能 | applemint Ltd.
谷歌分析4 / GA4 – 增強的電子商務跟蹤 – 如何設置?- 谷歌跟蹤管理器外掛程式為WordPress (gtm4wp.com)
[GA4] 建議事件 – Analytics (分析)說明 (google.com)
https://analytics.google.com/
https://tagmanager.google.com/
近期留言