Redis提升WP性能:一步步教您如何優化安裝與配置Redis資料庫
Redis作為一款開源的高性能key-value數據庫,已經在眾多頂尖科技公司和網站獲得廣泛應用。本文將引領您走過安裝和配置Redis資料庫的過程,並提供實用的優化技巧,助力您的系統性能達到新的高峰。
為什麼選擇Redis?
首先,讓我們理解一下為什麼您應該選擇Redis。Redis以其極速性能、靈活的數據結構和高可用性成為獨一無二的選擇。它可以作為緩存,消息佇列,以及在高壓情況下用作可靠的數據存儲。
安裝Redis
Ubuntu安裝Redis
sudo apt install redis-server
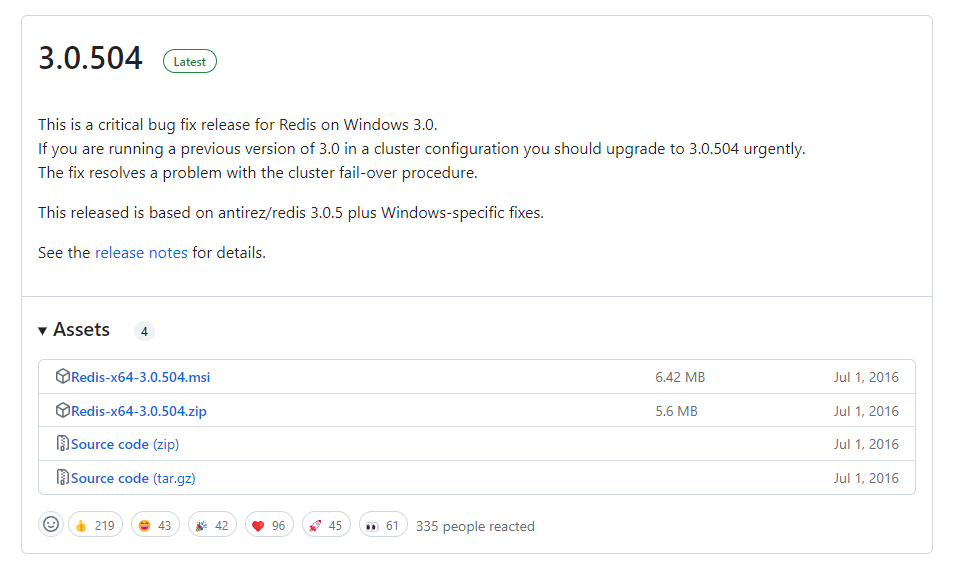
Windows 安裝 Redis
直接下載微軟製作的安裝包,下載網址 https://github.com/MicrosoftArchive/redis/releases
驗證Redis是否安裝成功
如果是剛安裝好,並且在同一台機器上可以直接打指令 redis-cli 就可以連線
redis-cli
redis-cli ping
redis-cli info
如果是別台機器的話,記得要開防火牆,並且指定 IP 以及指定 Port 和指定密碼
redis-cli -h 192.168.0.X -p 6379 -a 123456
設定Redis
設定檔案通常位於 /etc/redis/redis.conf ,編輯完記得要重開服務 sudo systemctl restart redis ,不確定conf檔案的位置的話,可以用 redis-cli info 查找,會顯示以下資訊
executable:/usr/bin/redis-server
config_file:/etc/redis/redis.conf
sudo nano /etc/redis/redis.conf
bind:若要遠端連入Redis伺服器,就會需要設定 bind 0.0.0.0 ::databases:設定可用的資料庫數量,在索引的時候是從0開始數,預設會使用索引值為0的資料庫。這個項目的預設值是16save:設定在一定的間隔時間內若資料庫有發生一定程度的改變,就將記憶體中當下的資料存成檔案(快照)。save的撰寫格式為save <seconds> <changes>,save 60 10000表示在60秒內至少有10000個key被改變則做一次快照。requirepass:設定客戶端與Redis伺服器連線時所需要的密碼。預設沒有設定,表示不啟用密碼驗證功能。maxclients:設定最大連線數。預設沒有設定,當作10000。maxmemory:設定最大的記憶體使用量,如果記憶體用量達到限制,就會根據maxmemory-policy項目設定的策略來嘗試移除key,如果無法移除,就會使該次插入或修改的操作回傳錯誤。預設沒有設定,表示不限制。maxmemory-policy:記憶體用量達到限制時採取的策略。預設沒有設定,當作noeviction,不移除key。其它策略如下:volatile-lru:根據LRU演算法移除過期的key。allkeys-lru:根據LRU演算法移除key。(不管有沒有過期)volatile-lfu:根據LFU演算法移除過期的key。allkeys-lfu:根據LFU演算法移除key。(不管有沒有過期)volatile-random:隨機移除過期的key。allkeys-random:隨機移除key。(不管有沒有過期)volatile-ttl:移除已過期的key中,TTL最小的key。
#bind 127.0.0.1 ::1
bind 0.0.0.0 ::
重啟服務
sudo systemctl restart redis
清除Redis的資料
利用 redis-cli 進去 Redis 主機後,輸入
flushall
清除單一資料的指令是
flush db0
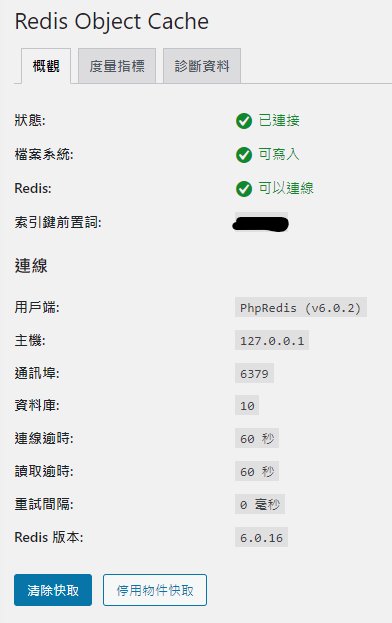
在 WordPress 中使用 Redis
Redis Object Cache 外掛網址 https://wordpress.org/plugins/redis-cache/
設定 wp-config.php
// adjust Redis host and port if necessary
define( 'WP_REDIS_HOST', '127.0.0.1' );
define( 'WP_REDIS_PORT', 6379 );

// change the prefix and database for each site to avoid cache data collisions
define( 'WP_REDIS_PREFIX', 'my-moms-site' );
define( 'WP_REDIS_DATABASE', 0 ); // 0-15

// reasonable connection and read+write timeouts
define( 'WP_REDIS_TIMEOUT', 1 );
define( 'WP_REDIS_READ_TIMEOUT', 1 );

/* That's all, stop editing! Happy publishing. */
require_once(ABSPATH . 'wp-settings.php');
組態檔
| Configuration constant | Default | Description |
|---|---|---|
WP_REDIS_HOST | 127.0.0.1 | The hostname of the Redis server |
WP_REDIS_PORT | 6379 | The port of the Redis server |
WP_REDIS_PATH | The path to the unix socket of the Redis server | |
WP_REDIS_SCHEME | tcp | The scheme used to connect: tcp or unix |
WP_REDIS_DATABASE | 0 | The database used by the cache: 0-15 |
WP_REDIS_PREFIX | The prefix used for all cache keys to avoid data collisions, replaces WP_CACHE_KEY_SALT. Should be human readable, not a “salt”. | |
WP_REDIS_PASSWORD | The password of the Redis server. Supports Redis ACLs arrays: ['user', 'password'] | |
WP_REDIS_MAXTTL | 0 | The maximum time-to-live of cache keys |
WP_REDIS_CLIENT | The client used to communicate with Redis: predis, phpredis or relay | |
WP_REDIS_TIMEOUT | 1 | The connection timeout in seconds |
WP_REDIS_READ_TIMEOUT | 1 | The timeout in seconds when reading/writing |
WP_REDIS_IGNORED_GROUPS | [] | Groups that should not be cached between requests in Redis |
常用控制指令
| Command | Description |
|---|---|
wp redis status | Shows the object cache status and diagnostics |
wp redis enable | Enables the object cache |
wp redis disable | Disables the object cache |
wp redis update-dropin | Updates the object cache drop-in |
效能考量,安裝 Phpredis
請先到 phpredis 這邊搜尋對應你平台的檔案,用 Linux Ubuntu 為例,下載 redis-6.0.2 版本 ,並且解壓縮他
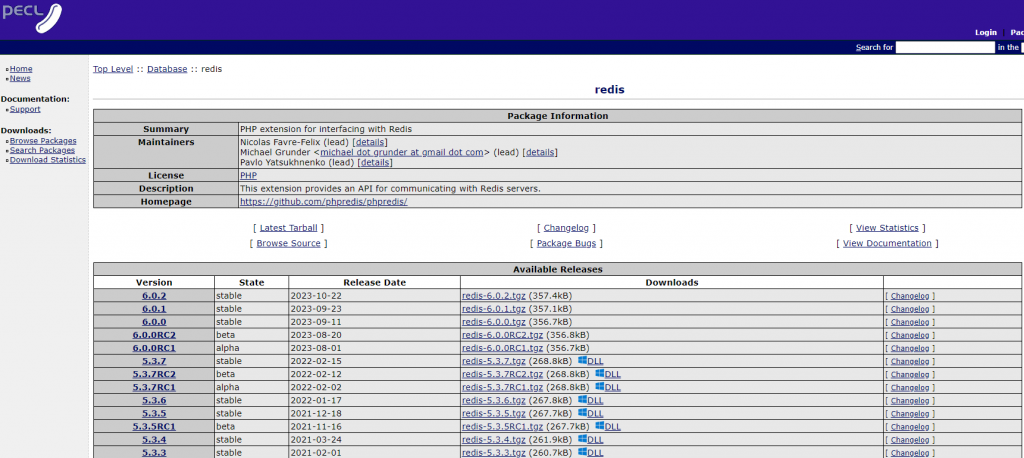
wget https://pecl.php.net/get/redis-6.0.2.tgz
tar -zxvf redis-6.0.2.tgz
cd redis-6.0.2
接下來先編譯原檔案
sudo phpize
sudo ./configure
sudo make && sudo make install
完成編譯檔案後,要把 .so 檔案放到 php 的 modules 中,先把該目錄找出來
php -i | grep extension_dir
系統回應我,extension_dir => /usr/lib/php/20220829 => /usr/lib/php/20220829 ,則將剛編譯好,放在 modules 下的 redis.so 複製到正確的目錄中
sudo cp ./modules/redis.so /usr/lib/php/20220829/
複製完畢後,需要去修改 php.ini 檔案,讓他支援 redis,這邊我示範用 Nginx
sudo nano /etc/php/8.2/fpm/php.ini
將 extension 打開,請找到 Dynamic Extensions ,並且在下面加入
extension=redis
設定完成後,重開 php 讓他生效
sudo systemctl restart php8.2-fpm
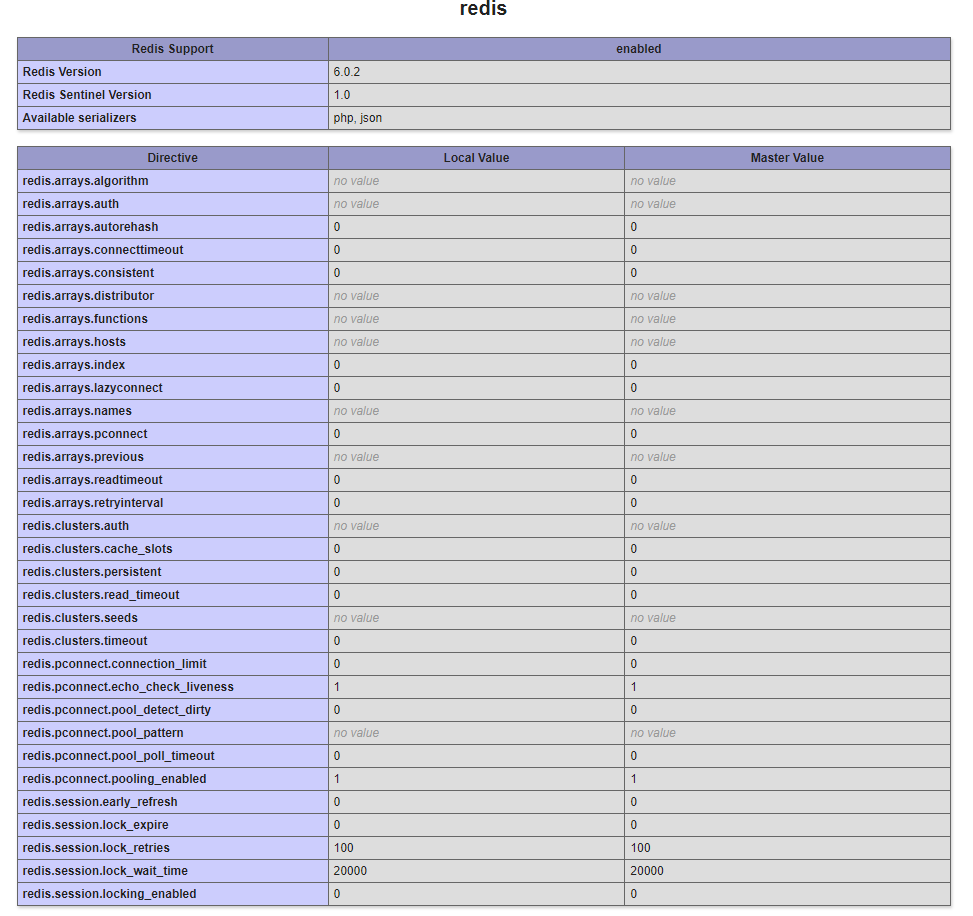
檢查方法,利用info.php,並且搜尋是否有redis字眼,如下圖就是成功了
關於Redis的大小事
預設安裝完畢,初始話是支援16個資料庫的,分別由編號 0-15 ,要增加資料庫,要去 Redis 的組態檔裡面修改 redis/redis.conf 中,找到 databases ,並且調整數值後,重新啟動即可
databases 16
Redis 讀取資料
redis-cli set my_key "Value"
redis-cli get my_key
Redis 列出所有的 KEY
redis-cli KEYS *

近期留言